Replacing The Battery In A Garmin
Forerunner 50 Watch
Thanks to MarcS_Ca at FixYa
Disclaimer: Garmin is a bit disingenuous when it comes to the battery in the Forerunner 50. In the product literature and the manual, they talk about the "user-replaceable CR2032 battery", but then instead of showing you how to do it, they say "Garmin recommends that you take the forerunner to a professional watch repair person to have the battery replaced." Well, I'm not a "professional watch repair person", but I offer the following pictures and notes to assist those who want to do the replacement themselves. Follow these steps at your own risk.
Save any data you want to keep before starting this process.
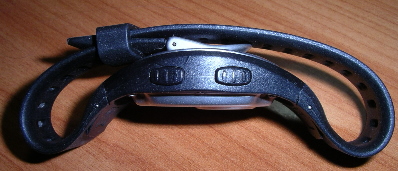
1. The tools I used are shown above:
|
2. Start by folding the strap back on itself to expose the back of the watch, and then ... |
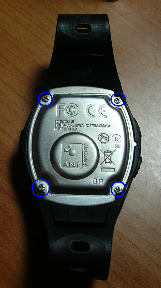
3. Lay it down with the back up and remove the 4 screws. Set them aside in a safe place. |
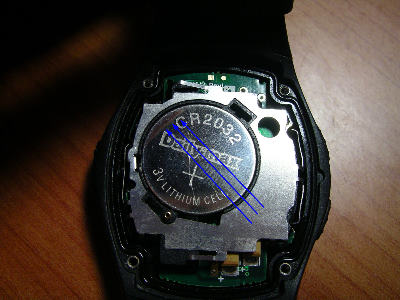
4. Peel away the sticker that's on top of the battery and carefully set it aside for reuse. |
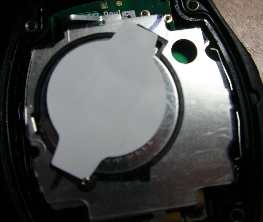
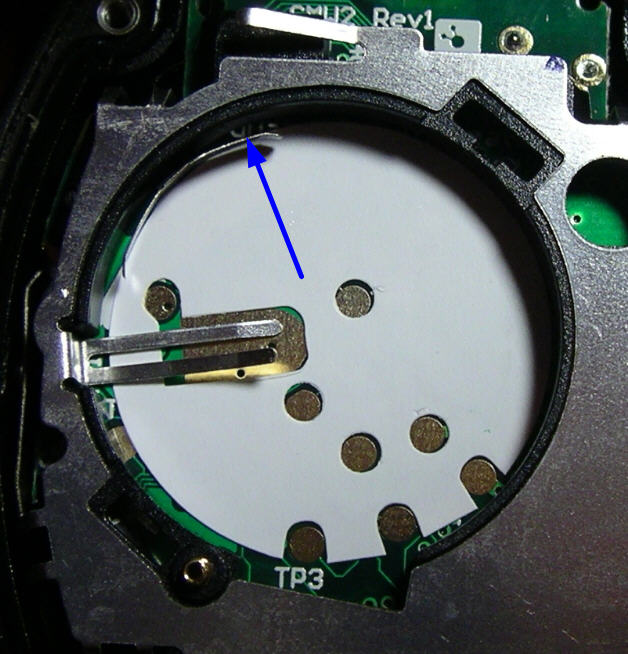
5. The battery and a piece of plastic are held in place by a spring clip. The blue arrows above point to the edge of the plastic in several places. Remove the clip by inserting the very small straight screwdriver straight down between the battery case rim and the latch of the clip and gently prying out. (Click this image for a larger view.) |
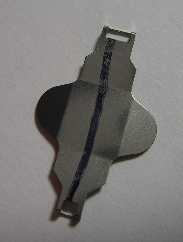
6. This is what the clip looks like when it is removed. Note that when reinstalling, the end with the small opening goes in first at the lower left (7:30 position in the diagram to the left) and then the larger end is pressed down and in at the upper right to latch it in place. |
7. Remove the piece of plastic, set it aside for reuse, then remove the battery. Note the leaf spring that contacts the side of the batter at the 11 o'clock position (blue arrow above). (Click this image for a larger view.) |
8. Insert the new battery, + side up, by sliding it in from the lower right to the upper left so it presses against the leaf spring and then set down into the battery case. Replace the plastic, align it carefully, and reinstall the clip as described in #6 above. Replace the sticker and reinstall the back. You might find it easier to use the tweezers to get the screws into their holes. When tightening the screws, just barely tighten the first one, then the diagonally opposite, then the third, then its diagonally opposite, then repeat the pattern and snug them up. |